Function
Use TightVNC to access the GUI of the Robotino Linux operating system through a virtual network computing (VNC) server. This allows you, for example, to run Robotino View directly on Robotino and create control programs online.
Manual
Download the freely available setup from https://www.tightvnc.com/ TightVNC on your PC or notebook and install TightVNC. Alternatively, you can also use a different VNC client, e.g. realVNC https://www.realvnc.com/ .
Connect to your PC / notebook with the network in which your Robotino is available.
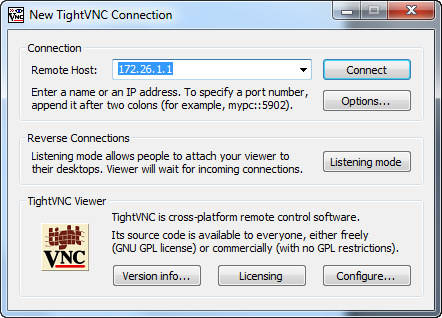
Start TightVNC and enter the IP address of your Robotino in the Host Name field in the configuration dialog.
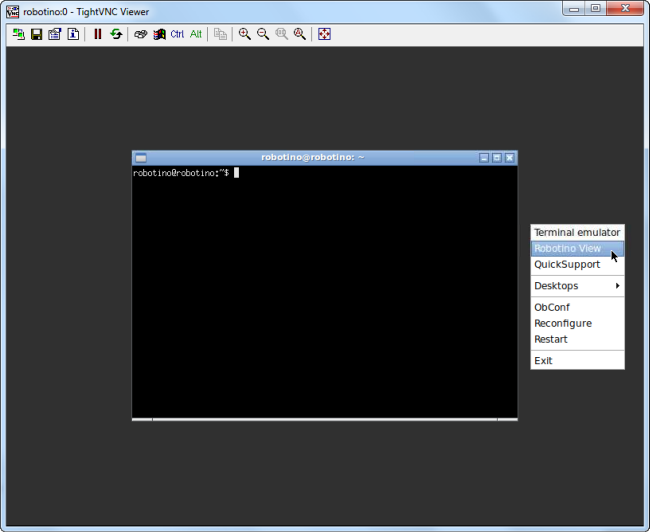
The Robotino Remote Desktop opens. With the right mouse button you reach a total of four desktops.
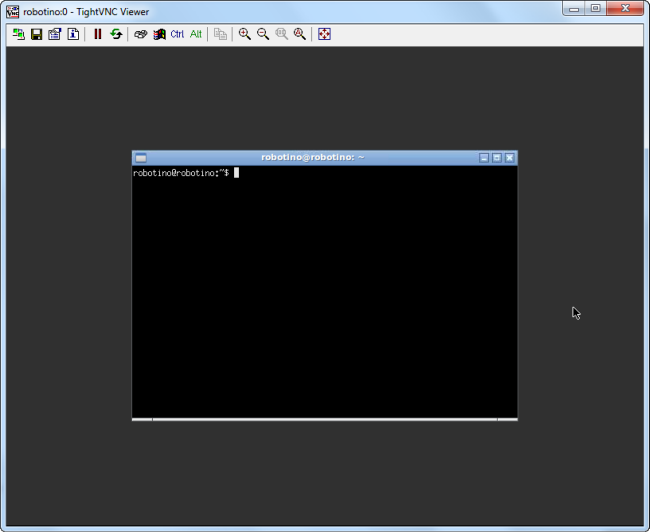
The Robotino Remote Desktop opens. With the right mouse button you reach a total of four desktops.
Robotino View starts on the remote desktop. Then you can open and edit an existing program or create a new program.
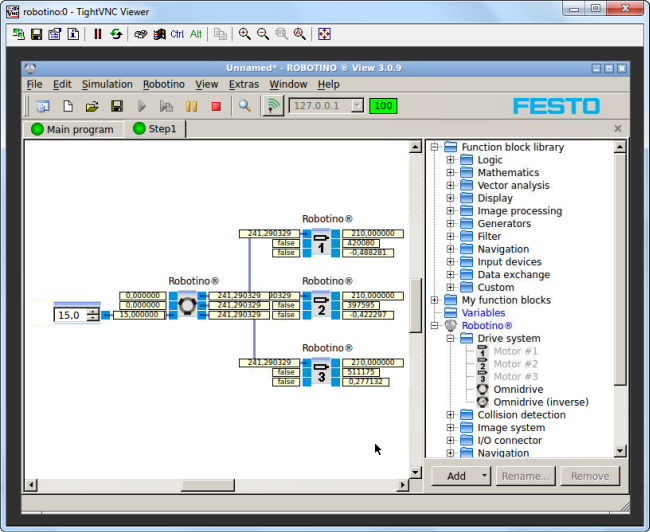
To establish the connection between Robotino View and the robot controller, enter the valid IP address of Robotino or the IP address 127.0.0.1 for the local connection. Once you have connected, you can start the program in Robotino View.
Change the resolution
You can adjust the resolution of the user interface in the BIOS of Robotino.
- To do this, connect a monitor and a keyboard to the Robotino control unit and restart Robotino.
- During startup, press and hold the F7 key. This will bring you to the BIOS settings.
- Change to the Advanced page.
- Select the setting Intel IGD SWSCI OpRegion.
- For example, set the values for IGD - Boot Type [CRT] to LCD Panel Type [1600x1200 (48bit)] to use the appropriate resolution.
- Press the F4 key to save the settings and exit the BIOS setup.